ULTIMATE GUIDE: Setting Up Your Server for Reliable Email Delivery. PART 2: How to prevent outgoing emails from going to spam

DNS records are a set of technical parameters of a domain that determine where to route different types of traffic: web, mail, FTP, etc.
They link the domain name to IP addresses and other servers so that browsers and mail systems know where to connect when working with your website or email.
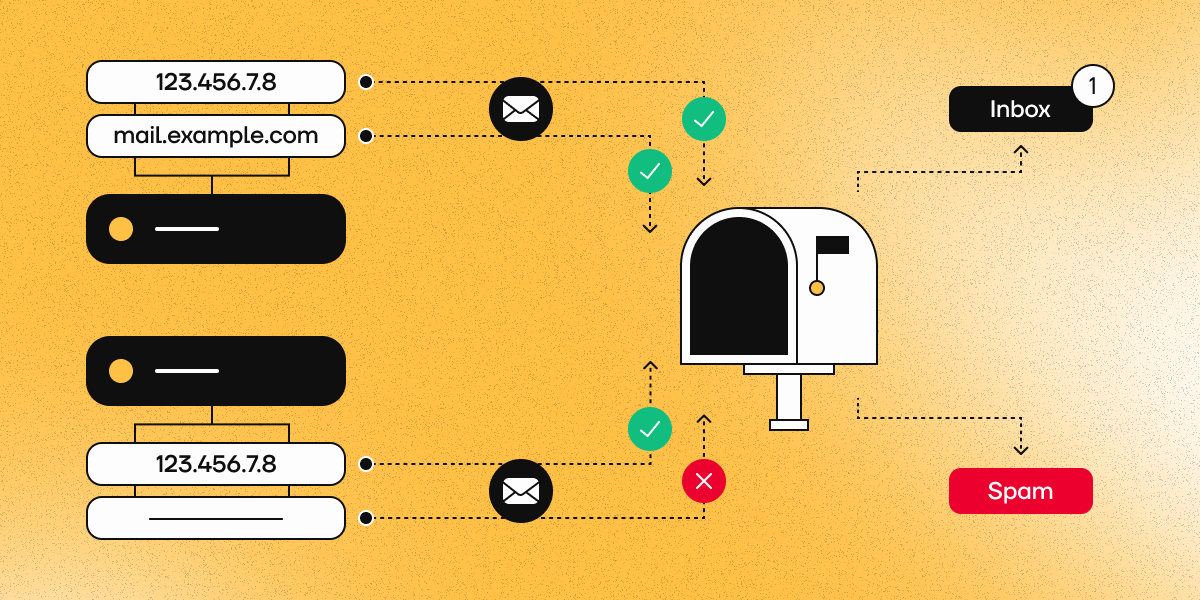
In Part 1 of this guide, we configured the firewall and opened the necessary ports for mail delivery. Now that we have made sure that messages are being sent from your server, we need to check that the DNS records are configured correctly. Gmail, Outlook, and other major mail services strictly verify MX, SPF, DKIM, DMARC, and PTR before delivering messages to the primary inbox. Correct records sharply increase the chance that messages will land in the Inbox folder instead of Spam (or be completely rejected).
In the following steps, we will describe how to check the current DNS records of each type and provide recommendations on how to configure them correctly.